Since my outdate home was just about ours, I thought I'd stock up on ideas for each room, and do my best to COMMIT to following through with some of these ideas. They include great tutorials and links to blogs to help in the journey from thought to actuality. The first step was our master bedroom. I had seen this photo on pinterest:
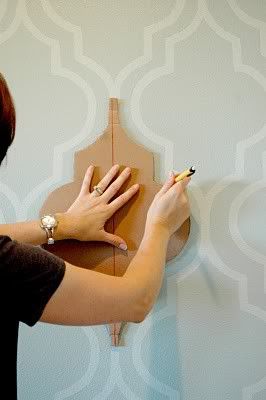
And I felt confident that it's something I could do - since painting IS the original form of wall-paper, and LOADS cheaper.
I started with a flat Behr paint "Sterling" for the walls (found in the OOPS Paint section at Home Depot for $7 = SCORE!)
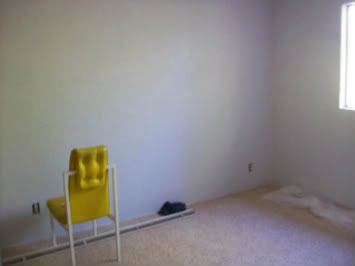
I also found some plum paint for the outline. I didn't follow the website's instructions about 'double lines' because
1. I am WAY to nervous about my husband's reaction to THAT much purple in the bedroom - gotta be kind to the man
2. I am also WAY too impatient to draw double the lines, and paint double the lines.
So I transferred the paper stencil onto carboard and started my project.
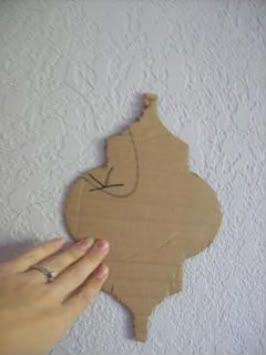
There is no rhyme or reason for the 'center' but make sure you go VERTICAL, not HORIZONTAL. I started going all over the place, at my heart's whimsy, and the bottom of the wall looks like a drunken monkey did the painting. the shapes are all distorted, but happily hiding behind my oversized headboard.
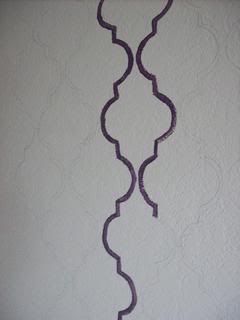
After the first day (Friday) This is what I had done. To reward myself and to actually see if I liked it PRIOR to doing the entire wall, I painted over what I did and stood back:
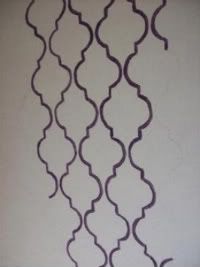
Not too bad, so I kept going, and going, and going....... rested... and kept going. After several days, at about 2 hours a day (simultaneously kicking myself for taking on such an ambitious project when there were boxes to unload, things to hang, a baby to entertain and feed, a husband to love on, and work to be presentable for!) I finished. That was this morning: Thursday. Yes, almost a whole week. And that's just ONE WALL. The women on these blogs did their entire bedrooms/kitchens/etc and that thought made me too dizzy.
Two hints if you're ambitious enough to take this on:
1. a textured wall is very hard... go slow, and prepare to retrace a few times
2. use a SMALL detail brush. Mine was less than 1/4" and had a long handle, which I think made the repetition easier on the forearms.
(I will post pictures of the final room once my room is put together, which, at this rate, could be after Christmas!)
No comments:
Post a Comment